In this article, I’m going to introduce you to some incredible AI tools that will drastically reduce the time it takes to create your videos, and the best part? You can use them for free. Don’t assume that just because they’re free, they’re low quality—this isn’t a sponsored post. The tools I’m about to share are the same ones that big creators secretly use in their videos, and I’ve personally used them in every single one of my videos. These tools can handle tasks like AI animation, motion graphics, character changes, text edits, voiceovers, background removal, uncropped UI profiles, and much more. Let me be clear: this list won’t include ChatGPT, Leonardo, or other well-known tools because everyone already knows about them. You might spend an entire day or even a week making a video, so what’s 5 minutes to learn about these tools? Plus, I’ve included a bonus tool in this article that I’ve added somewhere along the way. So, don’t skip—let’s dive into our first tool, Nano Banana. Oops, I mean Nano Banana! Its name might sound silly, but its capabilities are anything but.
1: Nano Banana (Google AI Studio)
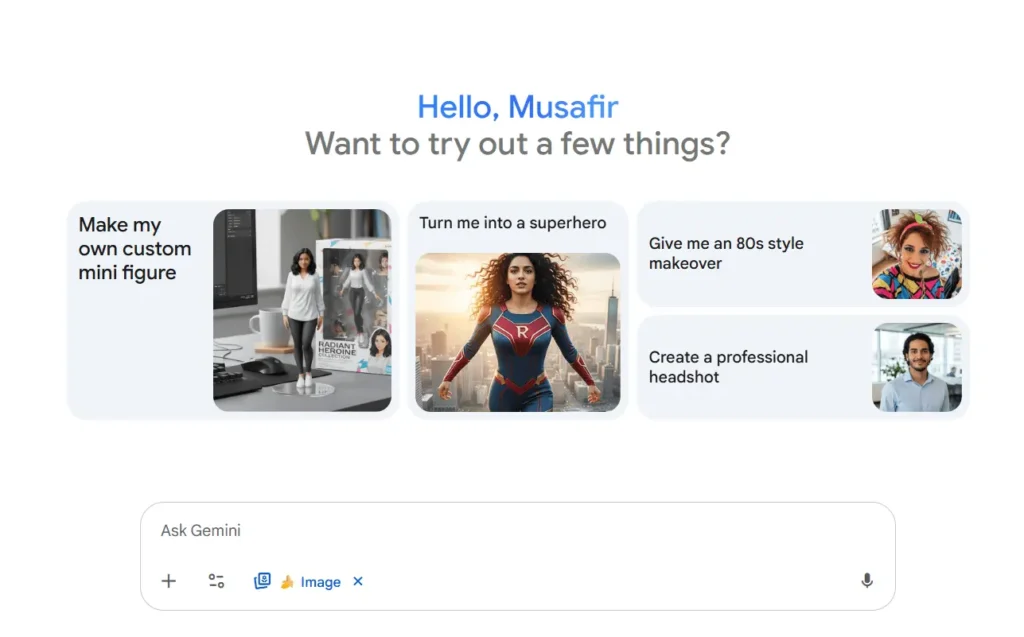
These tools work on your mobile, but I’ll also show them on a PC for a clearer view. To get started, head to Google and search for Google AI Studio. Once you’re on the website, click the plus icon and upload any thumbnail or image. If you want to change a character in the image, simply type “Replace with” followed by the character you want—I’ll use Narendra Modi as an example. Hit Enter, and within seconds, the tool generates your edited image. This tool is so powerful it could potentially disrupt the image editing industry. For now, it’s free, but I’m not sure how long that will last, so use it as much as you can! Look at how perfectly it added Narendra Modi to the image. You can convert any person in a thumbnail into another character this way.
This is Tech Burner. Now, this is Elon Musk. But it doesn’t stop there. For example, I take this thumbnail—look at how striking the text is. Creating something like this would take me over half an hour. But if you give this thumbnail to Nano Banana and write in the prompt, “Change the text to…” followed by whatever text you want—like “Banana”—it will accurately generate the text “Banana” in the image. But how do you use this in your video? There’s a solution for that too. Download the edited image and upload it again. Now, in the prompt, write “Convert text to PNG.” This will remove the background, but the character might remain. Download it again and write “Remove the character.” There you go—your “Banana” text is ready! However, if you upload this to any editing software, it won’t be in PNG format, and the text might have a glow effect, making background removal tricky.
2: PixelCut
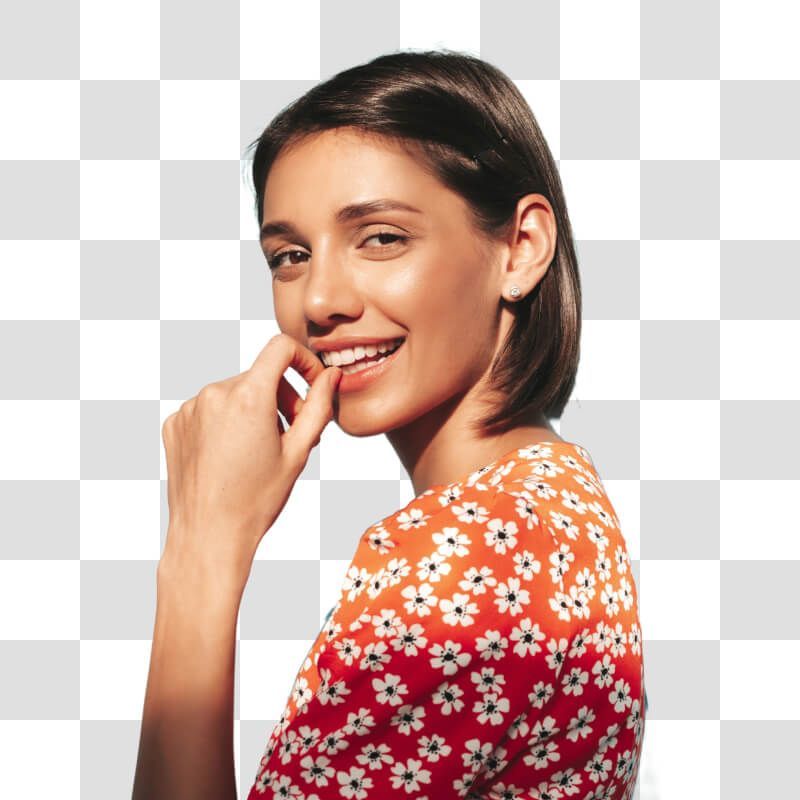
This is where our second tool, PixelCut, comes in. With this AI tool, you can upload any image, and it will remove the background with incredible accuracy. Even paid AI tools can’t match this level of precision. Plus, it has a button to upscale the image. So, take your “Banana” text, upload it to PixelCut, and watch it remove the background perfectly. You can download it from there, with a limit of three downloads per day per account. And just like that, you’ve created 3D text without any effort. Add a glow effect behind it, and it’ll look even better.
3: Hera AI
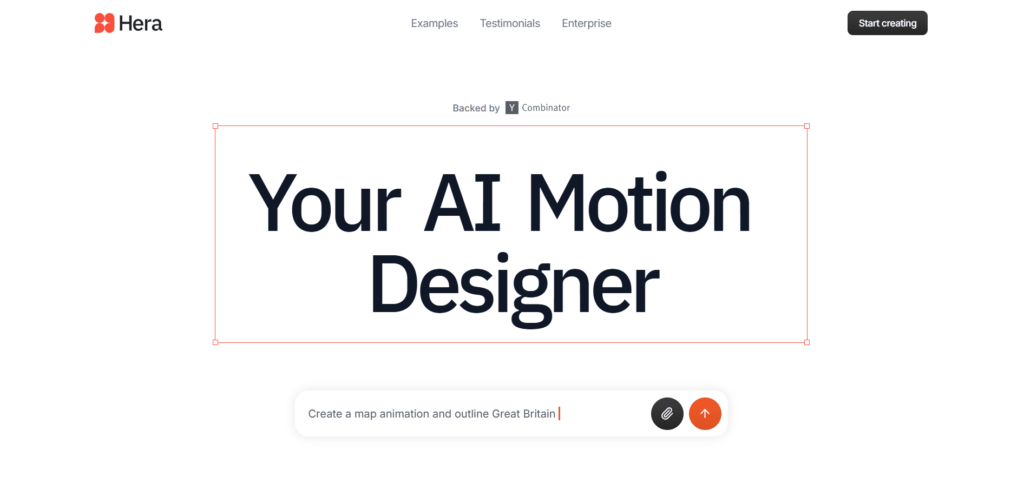
Moving on to the next tool, Hera AI. With Hera AI, you can easily create motion graphics, flowcharts, maps, and animations. Yes, easily, because the AI does the work for you. What do you have to do? Nothing, I’m kidding! First, head to ChatGPT. Using your creativity with ChatGPT, you can create a motion graphics chart. Or, take a screenshot of any animation and tell ChatGPT, “I need a step-by-step prompt for this animation for Hera AI.” It will give you the prompt without any complaints—I guarantee it. Back in Hera AI, add the motion graphics screenshot and paste the prompt from ChatGPT. Now, watch the magic happen—your motion graphics video will be ready. You can double-click the text to change it and adjust its position easily. Don’t forget to download and edit it, or it might look boring. You can also create map animations using Hera AI’s templates—check out the templates section for tons of options.
4: Audio Enhancement Tool
Now, let’s talk about my favorite tool, which enhances my plain voice dramatically. Listen to this: “See how simple it is to enhance your audio. Subscribe, guys!” Sounds basic, right? Now listen to this: “See how simple it is to enhance your audio. Subscribe, guys!” Notice the improved quality? Just drop your audio file into this tool, and it starts enhancing it without any extra effort. Once it’s done, you can play it to check or download it directly. Thanks to this tool, I’ve never had to edit audio for my podcasts.
5: Adobe Firefly

Next up is Adobe Firefly. Go to its website and ignore everything else—click straight on “Go to Firefly.” You’ll find a ton of features, but for now, focus on the Image section and select Generate Fill. Upload any photo—like one I picked from Google. If I want to expand its area, I’ll use the Expand button to increase its size, or set it to a 16:9 ratio for YouTube. Click Generate, and in seconds, the area will be expanded. That’s one feature. Another is if I want to use this thumbnail’s background for my own thumbnail. I’ll go to Remove, select the text and characters, and click Remove. Now, the background is ready. You can also use the Insert button to fill in elements—keep experimenting, I know you can do it!
Bonus Tool: Background Eraser (Mobile)
If you haven’t skipped this article yet, here’s the bonus tool, mainly for mobile editors. Search for Background Eraser on the Play Store or download it from my Telegram channel. Open the app and drop any image. For example, if I import this image into editing software and try chroma keying, both colors get removed. But with this tool, select Auto Color, pick a specific color, and only that area’s color will be removed. The magical option is even more powerful—try it yourself to see what it does. I use it a lot!
6: VEO3
Don’t run away when you hear the name VEO3, thinking you already know it. I’m not teaching you how to make monkey-type videos here. Instead, I’ll show you how to create animations like the motion graphics we saw in Hera AI. For example, I made a flowchart, but Hera AI can’t handle its animation. Head to ChatGPT, upload the flowchart image, and say, “I need a step-by-step animation prompt for this flowchart for VEO3 in JSON language.” All the prompts I’ve used in this article are available on my Telegram channel—go join it! Copy the lengthy prompt ChatGPT gives you and head to VEO3 (works in Gemini or Flow, doesn’t matter, as long as you have VEO3). Click Text to Video, switch to Frames to Video, upload the flowchart, and paste the prompt. Hit Enter. I tried it for two or three days, and the results were phenomenal. It took me at least two hours to make this animation, but VEO3 did it in 10 minutes. You can do almost anything with VEO3—I’ll leave that to you to explore.
7: Video Effects
The name of this tool gives it away. You’ll find tons of effects templates for Instagram, YouTube, Discord, and more. I loved this template, so I clicked on it. You can manually fill in details or directly input your username—like my Instagram ID—and it automatically fills everything. You can make changes, like increasing followers (how long will I keep increasing them? Go follow me!). Scroll down and click Generate. It asks for eight credits (we have 20 total). You only need this animation once—you’re not creating new accounts every day. Use the 20 credits you get per account. Once the animation is done, click Downloads and select Transparent Background. Your animation is ready to download.